- + Panel Mount
- + Open Frame Mount
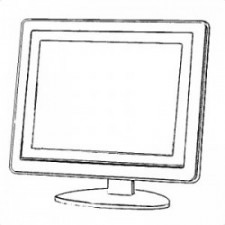
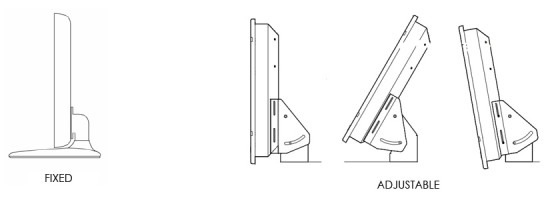
- + Desktop Mount
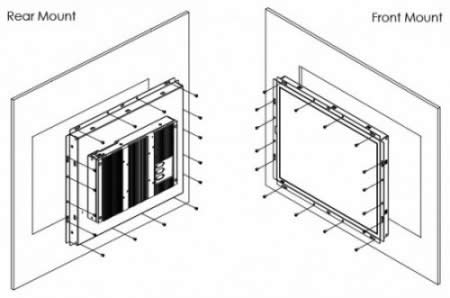
- + Rear Mount
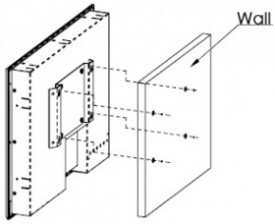
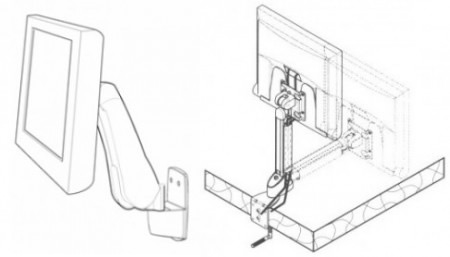
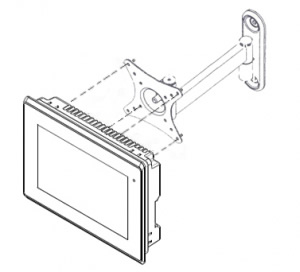
- + Wall Mount
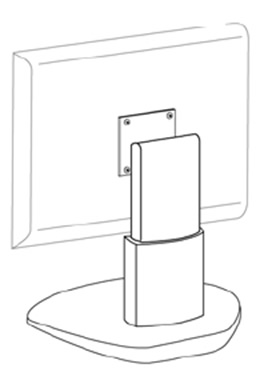
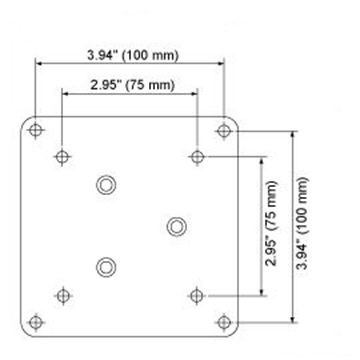
- + VESA Mount
- + Arm Mount
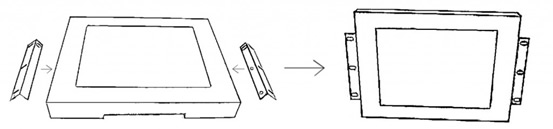
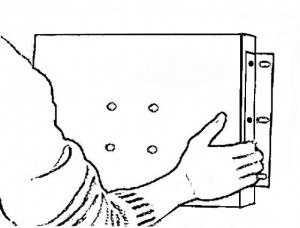
Mounting method is that mounts product into an opening of a customer’s fixture (mounting wall) from the front and secured from the rear. All user controls are located on the rear of the mechanism, making the panel mount displays a good choice for applications requiring a display with no external or exposed controls such as gaming/casino system, ATM, and kiosk.
Installation Steps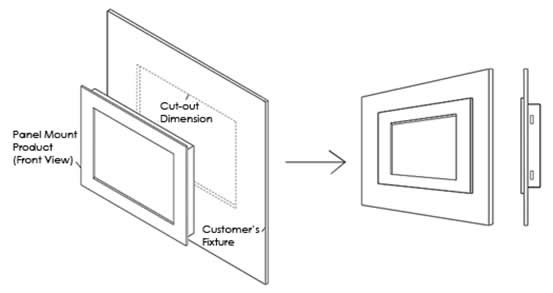
1. Put panel mount product in the cut out from the front side of the customer’s fixture, with the sides of the front bezel shown on the outside.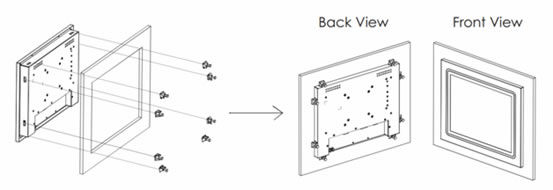
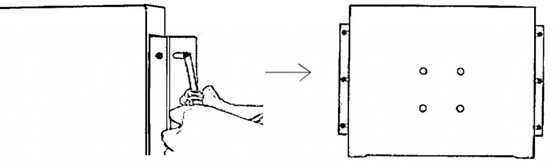
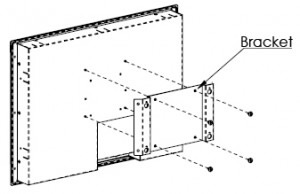
2. Use provided mounting kits to attach and tighten the panel mount product to the customer’s fixture as figure shown above.
**Panel Mount for IP65 rated Front Bezel Panel PC or industrial monitor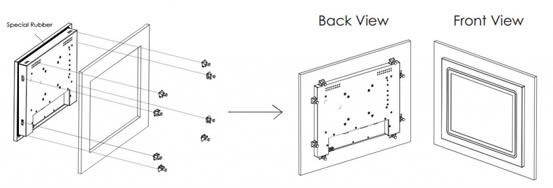
IP65 rated Panel PC has a special rubber on the rear of front bezel to seal front bezel and customer’s fixture to prevent water and dust

 HOME
HOME CONTACT US
 WHATSAPP